Introduction
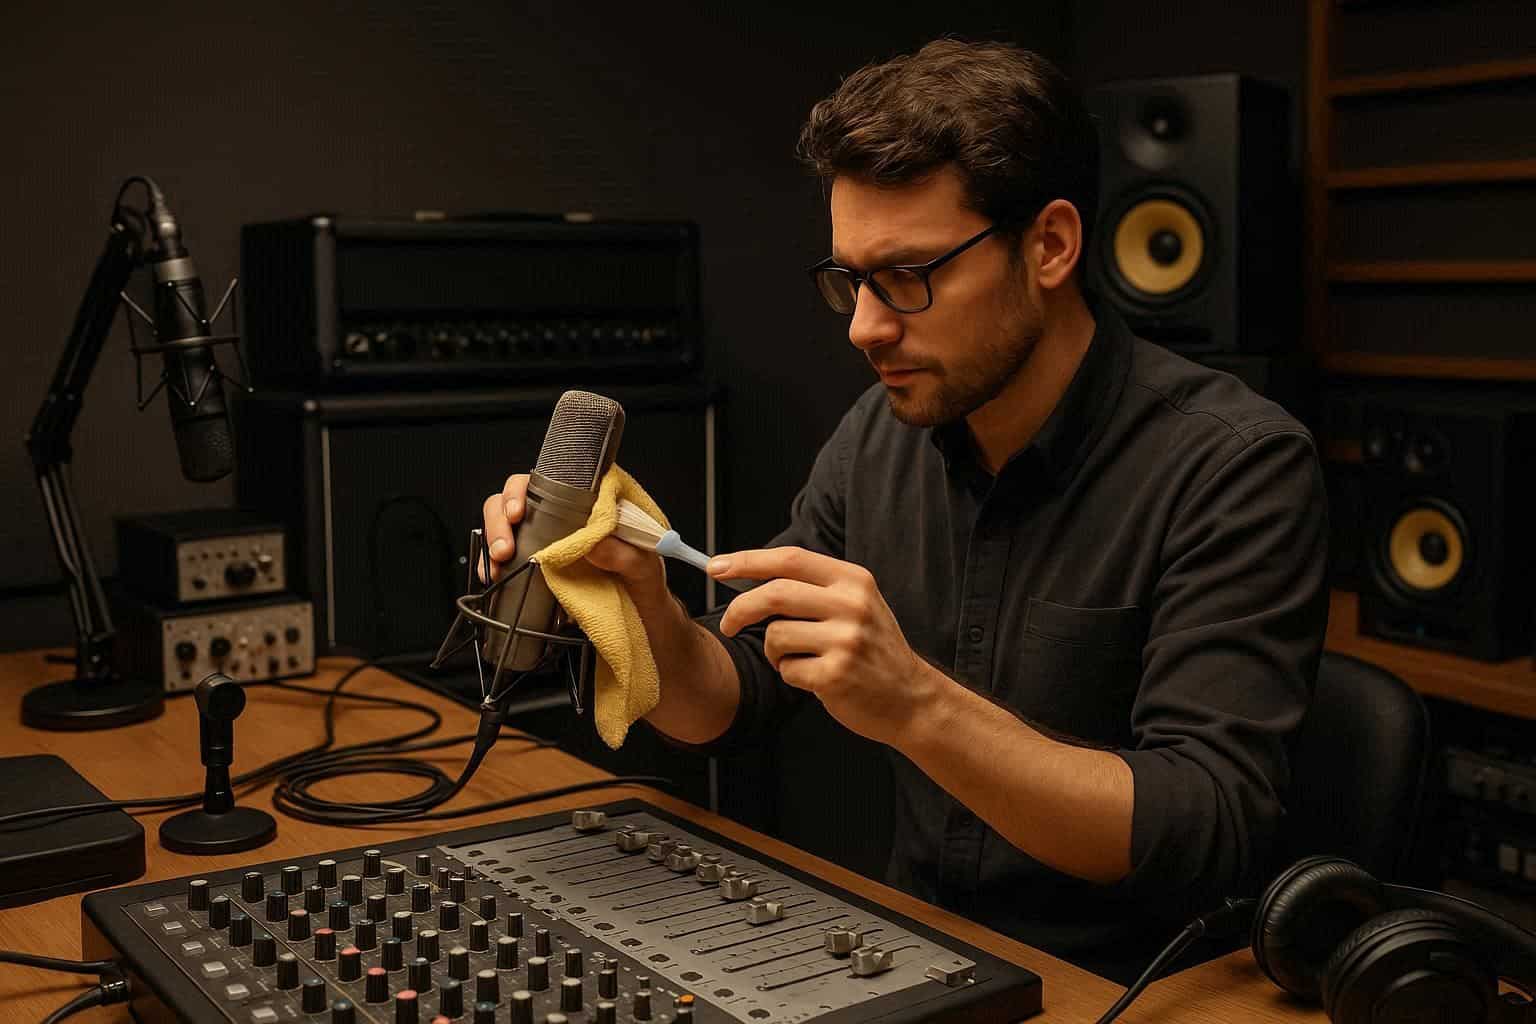
In the world of audio production, Gain Staging in Sound Engineering is one of the most crucial yet often misunderstood concepts. Proper gain staging ensures clean, balanced, and distortion-free audio — whether you’re mixing in a professional studio, recording in a Digital Pocket Studio, or managing live sound at an event.
Without proper gain structure, even the best Microphones, Audio Mixers, Amplifiers, and Speakers can’t deliver accurate sound. Mastering gain staging is the foundation of every professional audio setup, from Recorders and Audio Interfaces to Head Phones and monitoring systems.
What Is Gain Staging in Sound Engineering?
Gain Staging refers to the process of managing the levels of an audio signal throughout the signal chain — from the moment it’s captured by a Microphone to the point it reaches the Speakers or final recording output.
In simple terms, it’s about ensuring that your audio levels are strong enough to avoid noise but not so high that they distort. Every component in the signal chain — such as a DI Box, Audio Interface, or Amplifier — has an optimal input and output level. Keeping those levels balanced preserves signal integrity and maintains clean, professional sound.
Why Gain Staging Matters
1. Prevents Distortion
When the gain is set too high at any point in the signal chain, the audio waveform clips — resulting in harsh distortion. Proper gain staging ensures each device receives the right signal strength, preventing overloads in Audio Mixers, Amplifiers, and recording systems.
2. Improves Signal-to-Noise Ratio (SNR)
Setting your input gain too low forces you to boost levels later, which also amplifies unwanted background noise. Proper gain staging keeps your SNR high, ensuring clear and natural sound through your Head Phones or Speakers.
3. Creates Consistency Across Equipment
Every audio component, from your Recorder to DI Box, has its own sensitivity range. Proper gain staging keeps levels consistent across all devices, ensuring that your Microphones, Audio Interfaces, and Audio Mixers work together harmoniously.
4. Essential for Both Live and Studio Sound
In live sound, proper gain staging prevents feedback and distortion during performances. In studio sound, it helps you capture clean recordings that are easier to mix and master later.
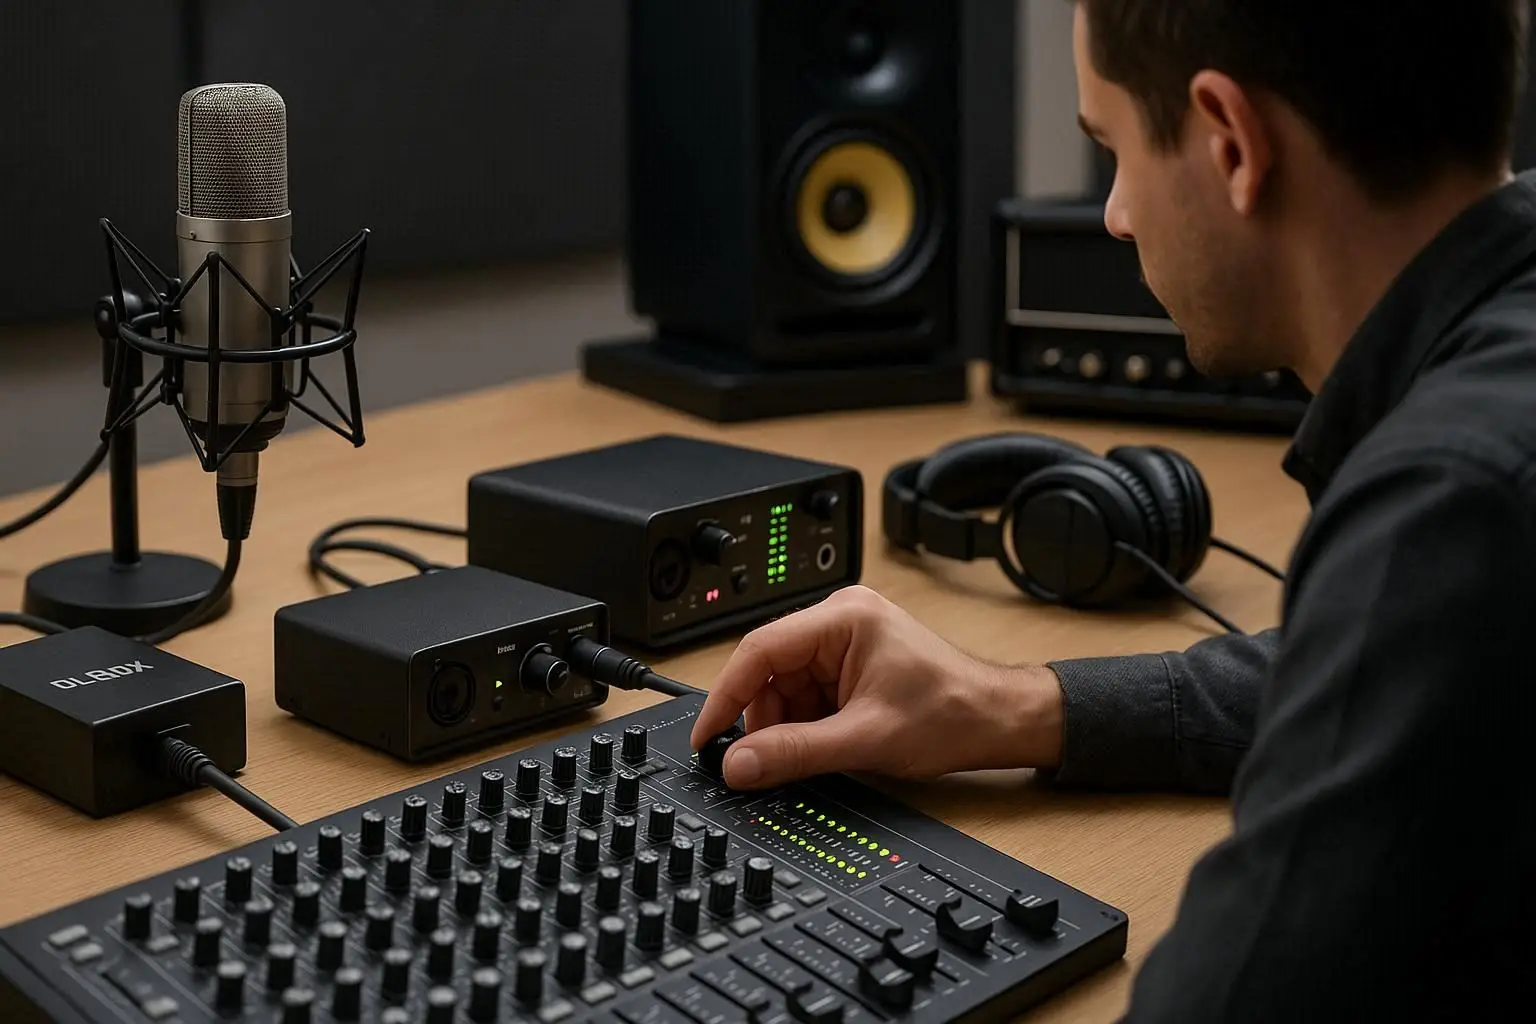
How Gain Staging Works in a Signal Chain
Let’s break down a typical signal path and understand where gain staging applies:
-
Microphones pick up the source sound.
-
The signal passes through a DI Box or Audio Interface, which converts or balances the signal.
-
It then enters the Audio Mixer, where preamp gain is adjusted.
-
From there, it travels to Amplifiers that power the Speakers or monitoring system.
-
A Recorder or Digital Pocket Studio captures the final output.
At each of these stages, gain must be managed properly. A mistake at one point (for example, setting the preamp gain too high) can affect everything downstream.
Setting Proper Gain Stages Step-by-Step
Step 1: Start with Input Gain
Adjust the gain on your Microphones or instrument inputs. The signal should be strong but not clipping — usually peaking around -6 dB to -12 dB on your meters.
Step 2: Optimize Your DI Box and Audio Interface
If you’re connecting instruments directly, use a DI Box to balance the signal. Then set the Audio Interface gain so that your computer or Recorder receives a clean signal without overload.
Step 3: Control Levels in the Audio Mixer
Set the faders on your Audio Mixers around unity gain (0 dB). Then use the mixer’s gain knob to fine-tune input strength. Avoid adjusting the fader to fix a bad gain level — fix it at the source instead.
Step 4: Monitor Output Through Amplifiers and Speakers
Once the mix is balanced, check your Amplifiers and Speakers for clarity. If they’re distorting, lower the mixer’s main output rather than the amplifier gain.
Step 5: Use Head Phones for Reference
Monitor with professional Head Phones to detect clipping, noise, or imbalance before sending audio to the speakers or Digital Pocket Studio.
Analog vs Digital Gain Staging
In analog systems, headroom and distortion are gradual — you can “push” signals slightly for warmth.
In digital systems, however, clipping happens instantly at 0 dBFS and sounds harsh.
So, in digital workflows using Audio Interfaces, Recorders, or Digital Pocket Studios, always leave enough headroom — around -6 dB — to prevent digital distortion.
Common Mistakes in Gain Staging
-
Setting All Gains at Once – Adjust each stage individually.
-
Ignoring the DI Box – Poor DI setup can cause hum or imbalance.
-
Overdriving the Preamp – Even high-end Audio Mixers can distort if the input is too hot.
-
Fixing Levels Later – Always fix issues at the source, not during mixing.
-
Not Monitoring Properly – Use Head Phones and Speakers to check for unwanted distortion in real time.

Tools That Help With Gain Staging
-
Microphones with clear sensitivity ratings
-
Audio Mixers with accurate VU or LED meters
-
DI Box for clean signal transfer from instruments
-
Amplifiers with proper power matching
-
Audio Interface with gain control and monitoring
-
Digital Pocket Studio or Recorder for capturing balanced takes
-
Head Phones and Speakers for monitoring at different stages
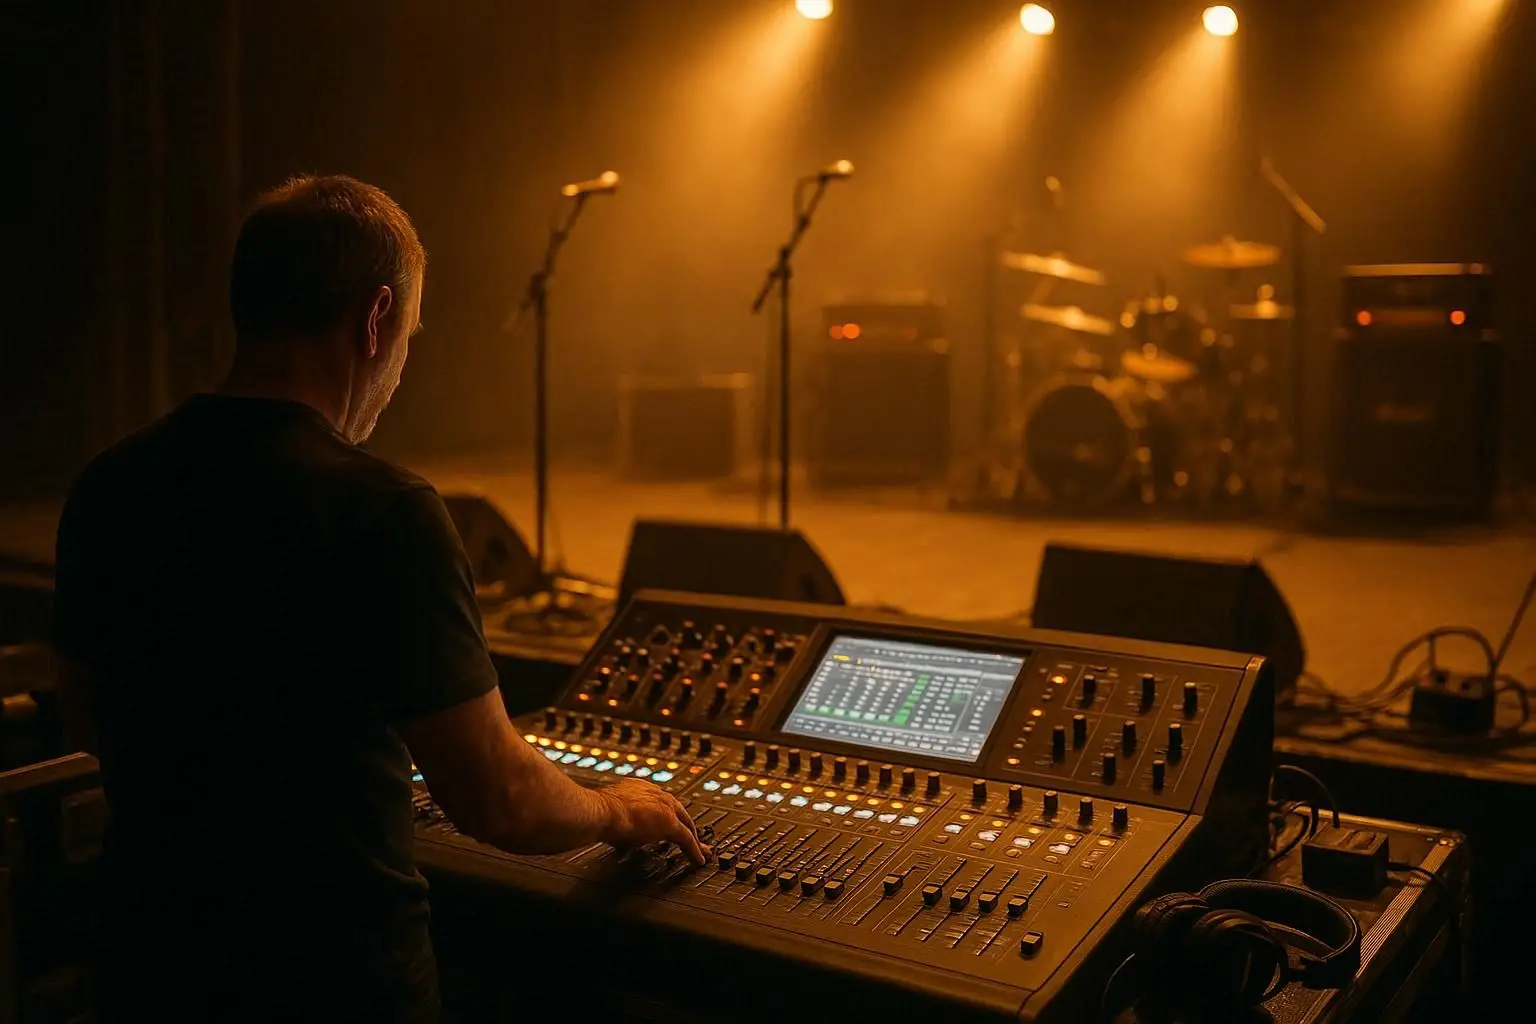
Gain Staging in Live Sound vs Studio Sound
In live sound, gain staging must be adjusted quickly to prevent feedback and distortion as performers move and volume changes. Engineers constantly tweak levels on Audio Mixers, Amplifiers, and Speakers.
In studio environments, gain staging is more controlled and consistent. The Audio Interface, Recorder, and Microphones are carefully calibrated before recording begins. This ensures accuracy and headroom for post-production mixing and mastering.
Pro Tips for Perfect Gain Staging
-
Work from Input to Output — Always start from your sound source and move downstream.
-
Watch Your Meters — Keep peaks between -6 dB and -12 dB for clean results.
-
Check Your Headroom — Leave enough space for sudden transients.
-
Calibrate Your Audio Interface and Mixers — Match input and output levels for accuracy.
-
Use Consistent Monitoring Tools — Rely on Head Phones and Speakers you trust for level referencing.
The Role of Gain Staging in Mixing and Mastering
Good Gain Staging in Sound Engineering makes mixing easier. Balanced input levels let you apply EQ, compression, and reverb more accurately. It also keeps your Amplifiers, Speakers, and Audio Mixers working efficiently without overload.
During mastering, proper gain structure ensures your tracks translate well across all playback systems — from Head Phones to PA systems.
Conclusion
Mastering Gain Staging in Sound Engineering is one of the most important skills for any audio professional. It prevents distortion, preserves dynamic range, and ensures clarity in every recording or live performance.
Whether you’re capturing vocals with a Microphone, routing signals through an Audio Interface, balancing levels on an Audio Mixer, or recording to a Digital Pocket Studio, gain staging is the invisible thread that ties it all together.
With practice, you’ll gain the intuition to set proper levels across DI Boxes, Recorders, Amplifiers, Speakers, and Head Phones, resulting in clean, powerful, and professional sound every time.
Frequently Asked Questions (FAQ)
1. What is the main goal of gain staging in sound engineering?
To maintain clean and consistent signal levels throughout the audio chain, preventing distortion and noise buildup.
2. How do I know if my gain is too high or too low?
If the meters on your Audio Mixer or Audio Interface are constantly peaking near 0 dB, it’s too high. If the signal is barely registering, it’s too low.
3. Is gain staging different for live and studio setups?
Yes. Live setups focus on preventing feedback and ensuring clarity, while studio setups emphasize accuracy and consistency for mixing and mastering.
4. Can I fix bad gain staging in post-production?
Not completely. Once distortion is recorded, it can’t be fully removed. That’s why proper gain staging before recording is essential.
5. What tools help achieve better gain staging?
Use reliable Microphones, DI Boxes, Audio Mixers, Audio Interfaces, and Head Phones for monitoring. Check meters frequently and adjust as you go.