Connecting multiple microphones to an audio mixer is a fundamental skill in sound engineering, whether you are preparing for a live performance, podcast recording, studio session, conference setup, or any event that requires clean, controlled audio. In this complete guide, you’ll learn every essential concept related to connecting multiple microphones to an audio mixer, including signal flow, microphone types, gain control, routing, avoiding feedback, and using additional audio tools such as a Recorder, DI Box, Digital Pocket Studio, Microphones, Amplifiers, Speakers, Audio Mixers, Head Phones, and an Audio Interface.
This is a comprehensive, step-by-step article designed for beginners, intermediate users, and professionals.
Why Proper Microphone Connection Matters
When you connect multiple microphones to an audio mixer, several issues can arise if the setup isn’t done properly:
-
Noise and interference
-
Ground hum
-
Feedback
-
Phase cancellation
-
Distorted signals
-
Unbalanced audio levels
-
Channel clipping
Mastering the process of connecting multiple microphones to an audio mixer ensures clean sound, clear voices, balanced levels, and full control over the audio output.

Understanding Basic Audio Signal Flow
Before connecting multiple microphones, it’s important to understand the path audio takes:
1. Microphone → Mixer Preamp
Microphones output a low-level signal, which needs to be amplified by the preamp in each mixer channel.
2. Gain Control → Channel Processing
Each channel features gain, EQ, filters, pan, and dynamics.
3. Mixer Output → Speakers / Amplifiers / Recorder
The final mixed signal is sent to your Amplifiers, Speakers, or a Recorder / Digital Pocket Studio.
Understanding signal flow prevents routing mistakes and ensures consistency when connecting multiple microphones to an audio mixer.
Types of Microphones and Why They Matter
Different microphones behave differently when used together. Here are the most common types:
Dynamic Microphones
-
Great for live sound
-
Resistant to feedback
-
Handle loud sources well
Condenser Microphones
-
Ideal for studios
-
Highly sensitive
-
Require 48V phantom power
Wireless Microphones
-
Useful for mobility
-
Require proper frequency management
Ribbon Microphones
-
Smooth sound
-
Sensitive and delicate
Using different microphone types in the same setup can affect gain structure and frequency balance, influencing your results when connecting multiple microphones to an audio mixer.
Equipment Needed for Multi-Microphone Setup
To connect several microphones successfully, you’ll need:
-
XLR Cables
-
Audio Mixers (with enough input channels)
-
Head Phones (for monitoring)
-
Audio Interface (if recording into a computer)
-
Recorder (for external recording)
-
Digital Pocket Studio (portable recording solution)
-
Amplifiers and Speakers
-
DI Box (for instruments, not microphones)
Having proper equipment ensures efficiency and reduces technical errors.
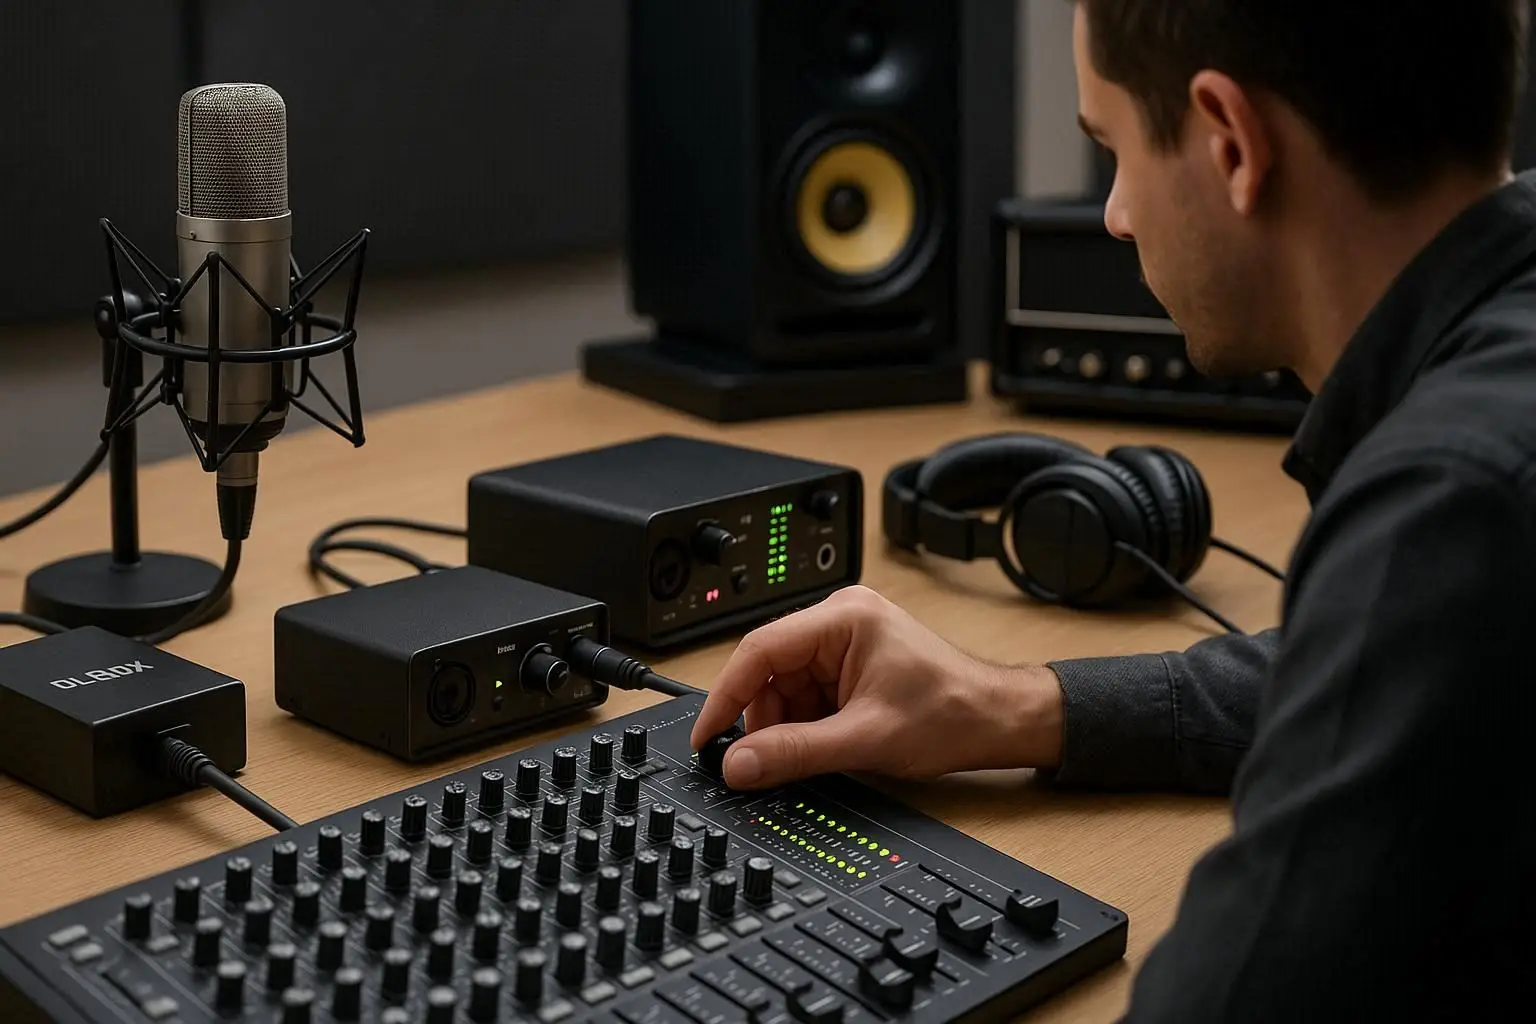
How to Connect Multiple Microphones to an Audio Mixer
Step 1: Choose the Right Mixer
Your mixer must have enough XLR inputs for all microphones.
Example: 6 microphones require at least an 8-channel mixer for flexibility.
Step 2: Connect Each Microphone to a Separate Input
Use high-quality XLR cables.
Each microphone gets:
-
Its own channel strip
-
Its own gain control
-
Its own EQ and pan settings
This is the foundation of successfully connecting multiple microphones to an audio mixer.
Step 3: Set Proper Gain for Each Microphone
This is the most important step.
Proper gain ensures:
-
No distortion
-
Maximum clarity
-
Consistent volume across microphones
Tips:
-
Speak loudly while setting gain
-
Avoid clipping (stay below the red zone)
-
Only enable phantom power (48V) for condenser microphones
Step 4: Apply EQ and Filters to Each Microphone
EQ helps prevent frequency overlap and reduces noise.
Recommended EQ settings:
-
High-Pass Filter (HPF) for voices to remove rumble
-
Slight boost around 10–12 kHz for clarity
-
Gentle dip around 200–300 Hz to avoid muddiness
Proper EQ is crucial when connecting multiple microphones to an audio mixer in close proximity.
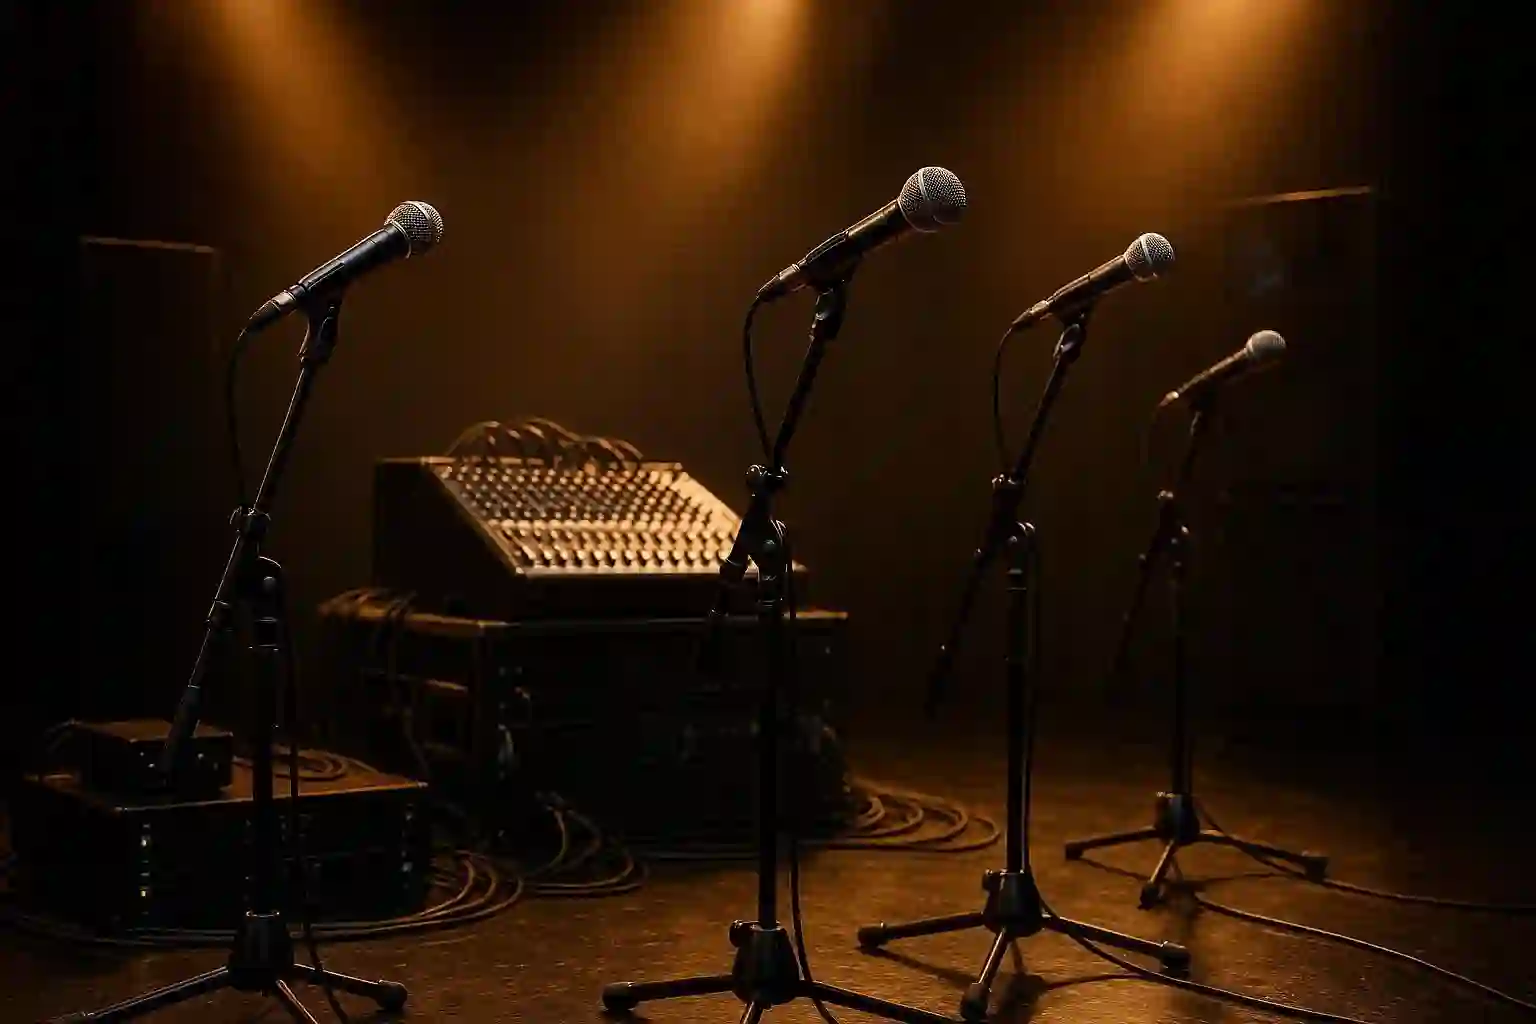
Step 5: Use Pan Controls for Better Stereo Separation
If you’re using stereo output, panning helps create space between multiple voices.
Examples:
-
Speaker 1: slight left
-
Speaker 2: slight right
-
Speaker 3: center
This reduces channel masking and improves realism.
Step 6: Balance Levels with Faders
Adjust each channel’s fader to achieve an even mix.
Keep faders around “unity” (0 dB) where possible for optimal performance.
Step 7: Route the Final Mix Output
You can route the final mix to:
1. Speakers / Amplifiers
For live performances.
2. Recorder or Digital Pocket Studio
For high-quality recording.
3. Audio Interface
For digital recording to a computer.
Avoiding Noise, Hum, and Feedback
Multiple microphones increase the chances of audio issues.
Prevent problems using these tips:
-
Keep microphones behind the Speakers to prevent feedback
-
Reduce excessive gain
-
Use balanced XLR cables
-
Avoid placing microphones too close to each other
-
Mute unused channels
-
Use EQ to remove problematic frequencies
Using a DI Box in Multi-Microphone Setups
A DI Box is essential for instruments like guitars or keyboards—not microphones.
When performing live with multiple microphones, a DI Box prevents noise, converts impedance, and balances long cable runs for instruments.
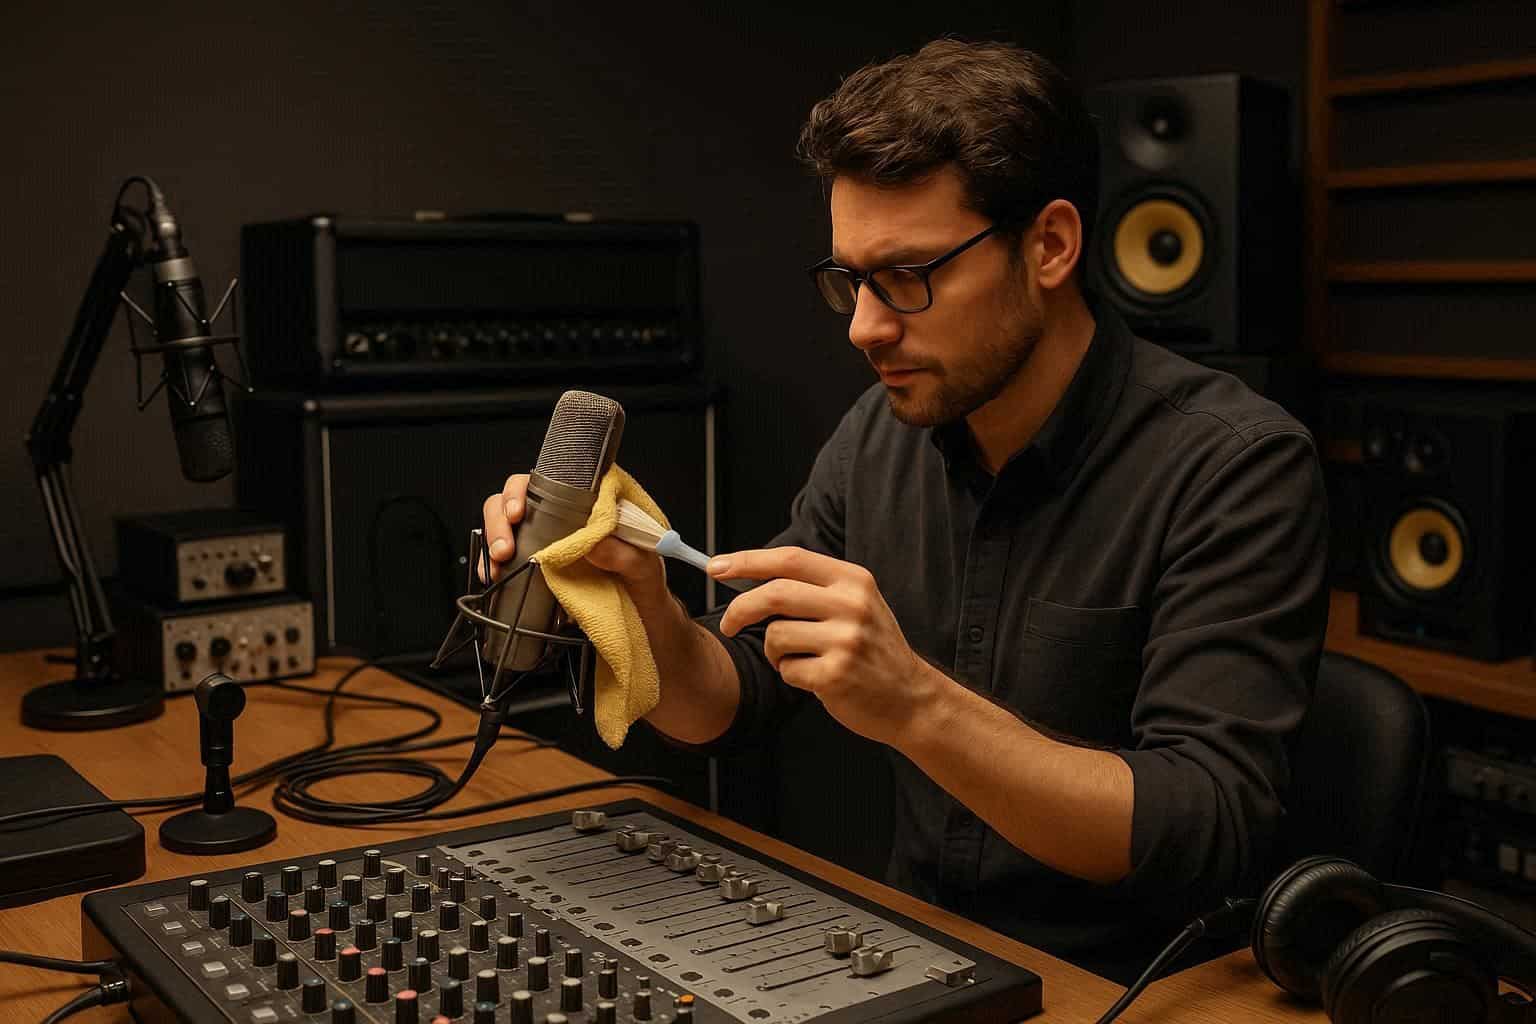
Monitoring with Professional Headphones
Using Head Phones allows precise monitoring of each microphone’s signal.
You can:
-
Detect noise early
-
Adjust gain more accurately
-
Confirm EQ changes
-
Prevent feedback before it happens
Always monitor with closed-back studio headphones for accuracy.
Recording the Final Mix
You can record your output using:
-
A Recorder
-
A Digital Pocket Studio
-
An Audio Interface connected to your computer
Digital recording gives you more editing flexibility, while hardware recorders provide reliability.
Common Mistakes to Avoid
-
Using cheap or damaged cables
-
Plugging microphones into line inputs
-
Enabling phantom power for dynamic or ribbon microphones
-
Placing microphones too close together
-
Ignoring gain structure
Avoiding these errors ensures success when connecting multiple microphones to an audio mixer.
Frequently Asked Questions (FAQ)
1. How many microphones can I connect to a mixer?
As many as the number of available XLR microphone inputs on your mixer.
2. Can I mix dynamic and condenser microphones together?
Yes, but you must set proper gain and enable phantom power only for the condenser microphones.
3. Do I need a DI Box for microphones?
No. DI Boxes are used for instruments, not microphones.
4. Why am I getting noise when connecting multiple microphones?
Possible causes include poor cables, incorrect gain, phantom power issues, or electrical interference.
5. Should I use an Audio Interface with my mixer?
Yes, if you want to record digitally into a computer.