Achieving truly accurate audio depends heavily on how well you Calibrate Your Speakers for Accurate Sound. Whether you are mixing music, editing podcasts, producing videos, or doing live sound, speaker calibration ensures that what you hear represents the real sonic picture. Even with high-end Speakers, Amplifiers, Microphones, or Audio Mixers, poor calibration leads to misleading frequency responses, false bass perception, and inaccurate stereo imaging.
From home studios to professional recording environments equipped with Audio Interfaces, Head Phones, Recorders, and Digital Pocket Studios, proper calibration is the foundation of audio accuracy. In this guide, we break down exactly how to calibrate your speakers step-by-step, what tools you need, and how to avoid common mistakes.
What Does It Mean to Calibrate Your Speakers?
Speaker calibration means adjusting the position, angle, sound level, EQ, and room characteristics to ensure the sound you hear is truthful. The goal is to create a balanced listening environment where frequencies are distributed evenly across the room.
Calibration includes:
-
Speaker placement
-
Proper gain staging
-
Room acoustics evaluation
-
Setting the correct listening level (SPL)
-
Equalizing for flat response
-
Phase and time alignment
By learning to Calibrate Your Speakers for Accurate Sound, you create mixes that translate well on TVs, phones, car systems, and consumer speakers.
Why Speaker Calibration Matters
1. Better Frequency Accuracy
Untuned speakers can create exaggerated bass or reduced mids. Calibration corrects this, allowing you to hear the sound as intended.
2. Proper Stereo Imaging
Properly aligned speakers produce a precise left–right soundstage with accurate panning and spatial placement.
3. Reduces Room Interference
Bad acoustic reflections cause phase cancellation, standing waves, and resonance. Calibration minimizes these issues.
4. Essential for Professional Mixing
Without accurate sound, every decision about EQ, reverb, compression, or stereo balance becomes unreliable.
5. Works for Any Setup
Whether you use DI Box setups for instruments, Recorders, Audio Mixers, or Digital Pocket Studio devices—proper speaker calibration benefits all monitoring environments.
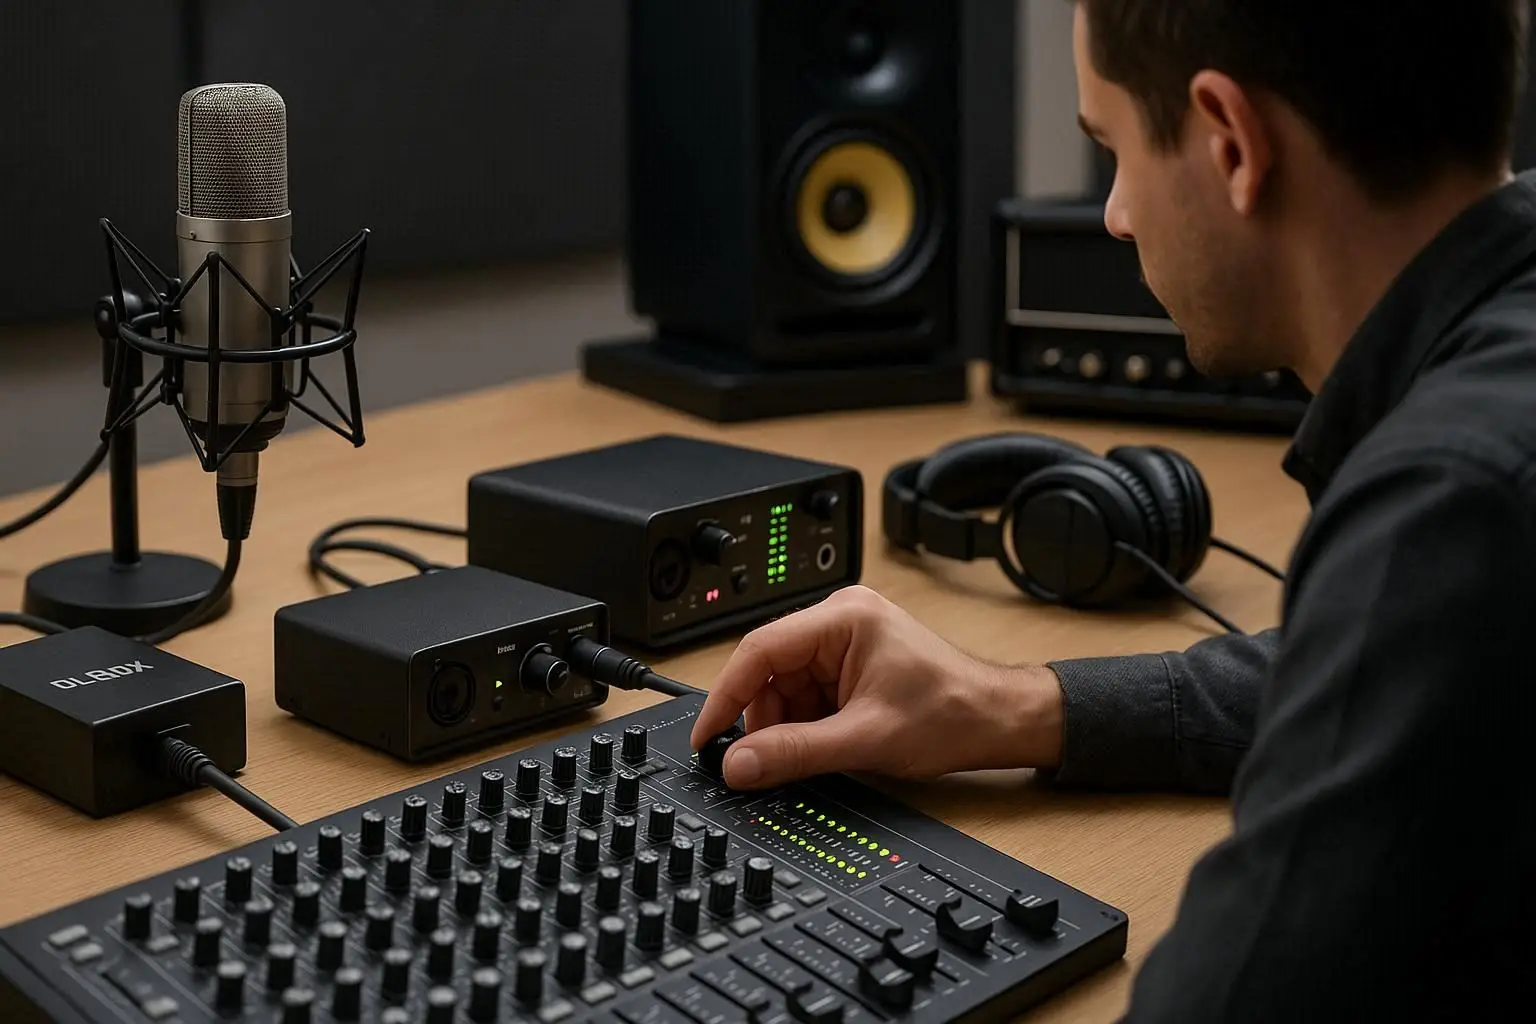
Tools You Need for Speaker Calibration
To Calibrate Your Speakers for Accurate Sound, you can use the following tools:
✔ SPL meter (or SPL app)
Needed for measuring listening levels.
✔ Measurement Microphones
Neutral-frequency-response measurement Microphones capture accurate room readings.
✔ Audio Interface
Used to connect measurement mics and generate test tones.
✔ Calibration software
Such as:
-
REW (Room EQ Wizard)
-
SonarWorks SoundID
-
IK Multimedia ARC
✔ Test tones & frequency sweeps
Used for reference during analysis.

Step-by-Step: How to Calibrate Your Speakers for Accurate Sound
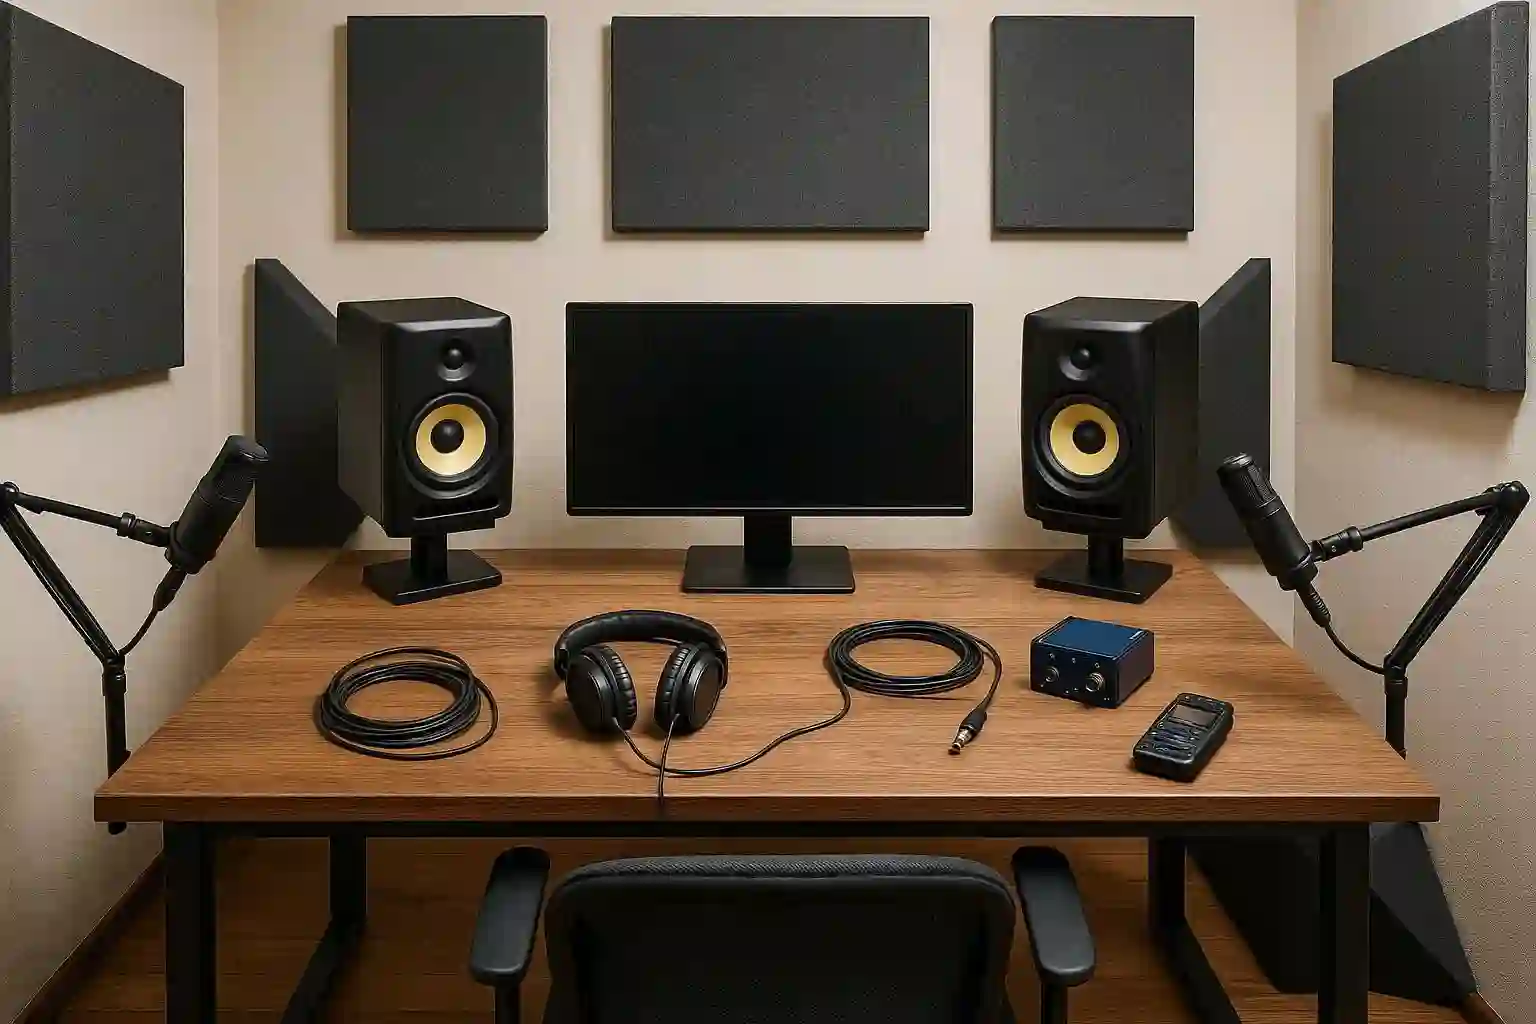
STEP 1 — Speaker Placement and Positioning
Correct placement is the foundation of accurate sound.
Follow these rules:
1. Create an equilateral triangle
Your head and the two speakers should form an equal-sided triangle.
2. Tweeters at ear level
The tweeters should be aligned with your ear height when sitting.
3. Angle (toe-in)
Angle both speakers toward your head by 30° to improve stereo imaging.
4. Distance from walls
Avoid placing speakers directly against the wall.
A distance of 30–60 cm is ideal.
5. Avoid corners
Corners create massive bass buildup.
6. Avoid asymmetry
Make sure left and right sides of the room mirror each other.
A properly positioned speaker is the first step toward improving clarity—before any EQ or calibration software is used.
STEP 2 — Optimize Your Gain Structure
Before calibration tones are played, make sure all equipment is properly gain-staged:
-
Check outputs of your Audio Interface
-
Adjust input gains on Audio Mixers
-
Set levels on Amplifiers
-
Avoid clipping on Recorders or monitoring devices
This ensures your calibration measurements reflect realistic listening conditions.
STEP 3 — Set the Listening Position
Your listening point (sweet spot) should be:
-
Centered between left and right speakers
-
Slightly away from the back wall
-
At ear height
-
Positioned at 38% of the room length (acoustic sweet zone)
This allows test microphones to record the most accurate data.
STEP 4 — Use the Measurement Microphone
Place the measurement Microphone:
-
At ear height
-
Pointing upward (if omnidirectional)
-
On a stable stand
-
Exactly at the listening position
Avoid hand-holding the mic, as it introduces vibration noise.
STEP 5 — Run Frequency Sweeps
Use your calibration software (REW, ARC, SoundID) to generate frequency sweeps.
This reveals:
-
Room modes
-
Standing waves
-
Bass dips and boosts
-
Reflection issues
-
Phase inconsistencies
-
Stereo imbalances
These measurements help you understand the unique sonic behavior of your room.
STEP 6 — Adjust Levels to Standard SPL
The industry-standard listening level is 85 dB SPL (C-weighted).
To set the correct level:
-
Play a pink noise track
-
Place SPL meter at listening position
-
Adjust the speaker volume until it reaches ~85 dB
-
For small rooms, 75–78 dB may be more appropriate
This ensures consistent and safe monitoring levels.
STEP 7 — EQ Correction and Compensation
Once frequency issues are detected, you can:
✔ Apply room correction EQ
Use digital room calibration software to flatten the response.
✔ Treat reflections
Place acoustic panels, bass traps, and diffusers.
✔ Fix phase issues
Adjust the physical position of the Speakers or use delay alignment in your Audio Mixers.
✔ Use hardware tools
Some Amplifiers, receivers, and Audio Interfaces include built-in calibration EQ options.
STEP 8 — Test with Reference Tracks
After applying EQ corrections:
-
Play familiar high-quality reference songs
-
Listen for accurate bass, clear vocals, and stable imaging
-
Compare results using Head Phones
-
Record test sweeps with your Recorder or Digital Pocket Studio
Reference listening verifies that your calibration results sound natural and balanced.
Additional Tips for Perfect Calibration
✔ Avoid mixing too close to walls
✔ Treat first reflection points
✔ Keep speaker stands decoupled from the desk
✔ Recalibrate every 6 months
✔ Reduce noise in the room for better measurement
✔ Check alignment with a laser distance measurer
Common Mistakes in Speaker Calibration
-
Sitting too close or too far from speakers
-
Over-boosting EQ instead of cutting
-
Ignoring room resonance at 60–120 Hz
-
Placing subwoofers in corners
-
Using low-quality measurement mics
-
Forgetting to calibrate after moving furniture or equipment
-
Relying only on Head Phones for calibration decisions
Conclusion
Learning how to Calibrate Your Speakers for Accurate Sound is essential for any audio engineer, producer, or content creator. With proper placement, correct gain staging, accurate SPL measurement, EQ correction, and room analysis, your Speakers, Amplifiers, Audio Mixers, Audio Interface, Microphones, Recorders, DI Box, and all other sound equipment will deliver clean, truthful, and professional audio.
The more accurately your speakers reproduce sound, the better your mixes will translate across every listening environment—from car speakers to smartphones, TVs, and professional audio systems.
Frequently Asked Questions (FAQ)
1. Why is speaker calibration important?
Because it ensures accurate and truthful sound reproduction, making mixing and audio decisions more reliable.
2. How often should I calibrate my speakers?
Every 6–12 months, or after changing your room layout, furniture, or equipment.
3. Can I calibrate speakers without measurement software?
Yes, but using REW or similar tools gives far more accurate and reliable results.
4. Why do my calibrated speakers still sound different at home or in the car?
Rooms, speaker systems, and listening positions differ. Calibration ensures your mix translates better, but playback systems vary.
5. Do headphones replace speaker calibration?
No. Head Phones are for detailed checking, but speakers provide the real stereo field and room interaction.