When building or expanding a studio or live sound setup, understanding how to connect audio equipment is one of the most critical skills. The keyword “connect audio equipment” not only defines this process but also helps prevent signal loss, unwanted noise, and equipment damage.
Whether you’re wiring a professional PA system, a home studio, or a podcast setup, mastering cable types, connectors, and proper signal flow will make all the difference in your audio quality.
Understanding the Basics of Audio Signal Flow
The first step in learning how to connect audio equipment is understanding signal flow. In simple terms, signal flow describes how sound travels from the source (like Microphones or instruments) through different devices — such as Audio Mixers, Amplifiers, and Speakers — until it reaches your audience.
A clean, balanced signal path ensures that every sound in your setup is captured, processed, and amplified without distortion or interference.
Typical Signal Flow:
Microphone → Audio Mixer → Amplifier → Speakers
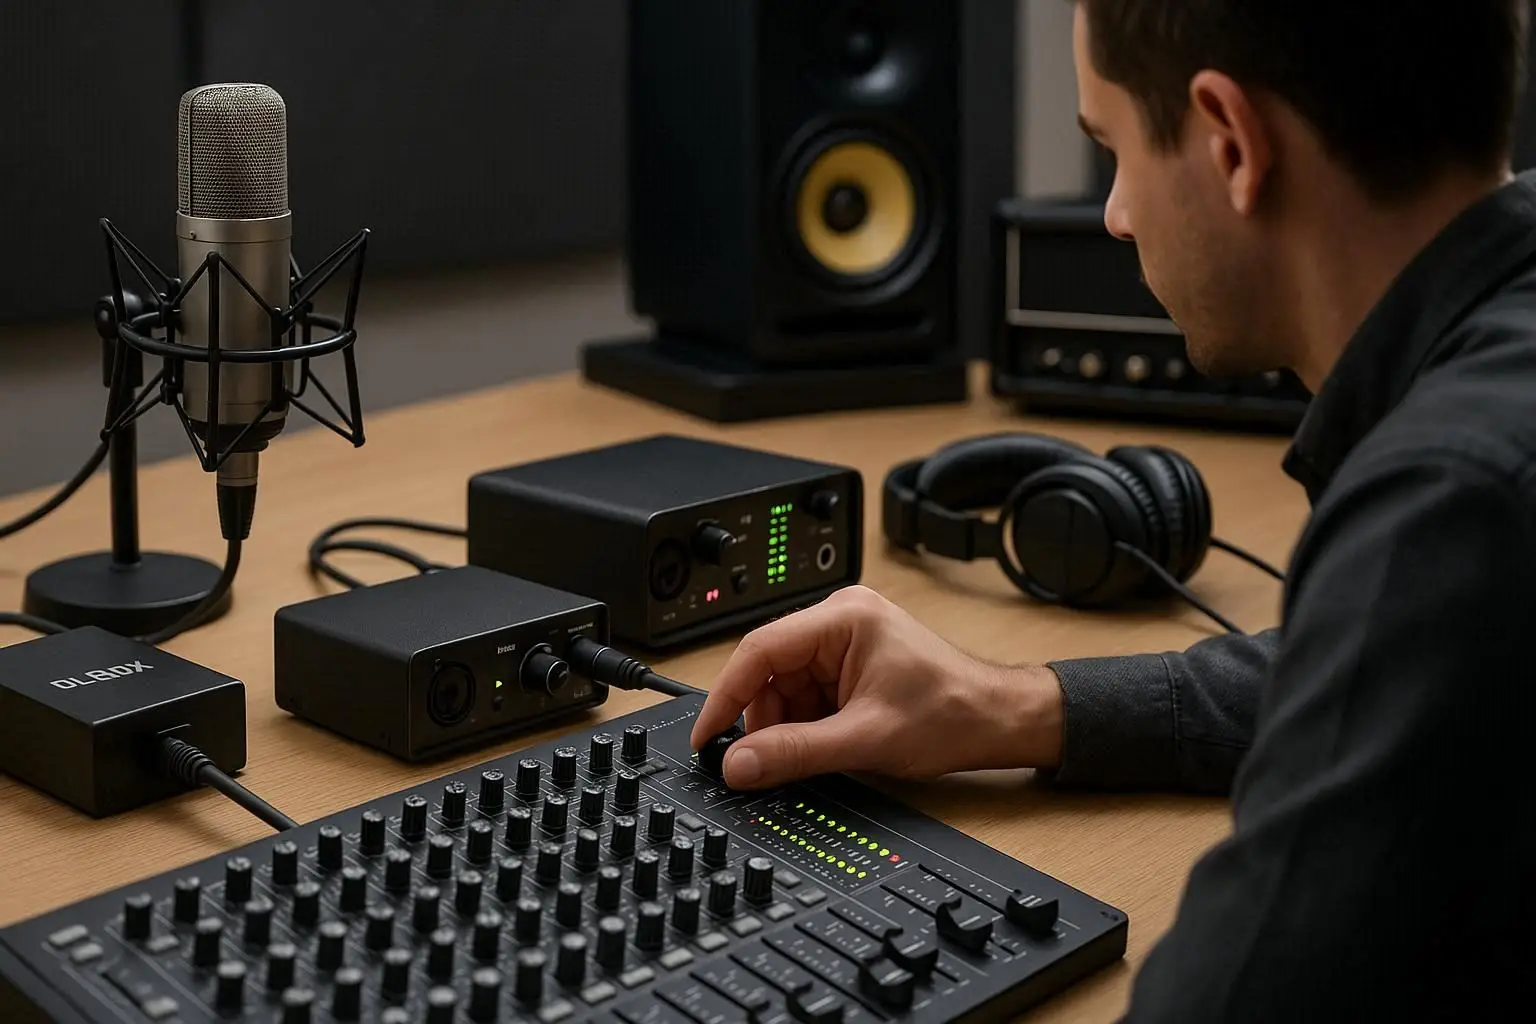
If you’re recording instead of performing live, the chain might look like this:
Microphone → Audio Interface → Recorder or Digital Pocket Studio → Head Phones
Types of Audio Cables
Different types of cables are used for different connections, and choosing the right one is essential to maintain signal integrity.
1. XLR Cables
-
Used for: Microphones, DI Boxes, and balanced line signals.
-
Advantages: Noise-resistant due to balanced wiring.
-
Example: Connecting a microphone to an Audio Mixer.
2. TRS (¼-inch) Cables
-
Used for: Studio monitors, instruments, and headphone outputs.
-
Advantages: Can carry balanced or stereo signals.
-
Example: Linking an Audio Interface to studio monitors.
3. TS (Instrument) Cables
-
Used for: Guitars, keyboards, and unbalanced line connections.
-
Advantages: Simple design but not noise-resistant.
-
Example: Connecting a guitar to a DI Box or amplifier.
4. RCA Cables
-
Used for: Consumer audio devices or DJ setups.
-
Advantages: Affordable, but short distance only.
-
Example: Connecting a mixer output to a home stereo system.
5. Speakon Cables
-
Used for: Connecting Amplifiers to Speakers.
-
Advantages: Locking connector for secure high-power connection.
-
Example: Live sound setups where strong, reliable signal transfer is crucial.
Common Audio Connectors and Their Functions
Every cable type comes with a connector — and choosing the right connector ensures safe and clear transmission of your signal.
| Connector Type | Description | Common Use |
|---|---|---|
| XLR | 3-pin connector, balanced signal | Microphones, DI Boxes |
| ¼-inch TRS/TS | Tip-Ring-Sleeve or Tip-Sleeve design | Instruments, mixers, headphones |
| RCA | Red/white stereo pair | DJ gear, consumer audio |
| Speakon | Twist-lock connector | Speakers and amplifiers |
| USB / Thunderbolt | Digital audio transfer | Audio Interfaces and digital mixers |

How to Properly Connect Audio Equipment
To safely connect audio equipment, always follow this order to ensure stability and minimize noise:
Step 1: Power Off Everything
Before connecting cables, turn off your devices to avoid pops, hums, or even damage to your Amplifiers and Speakers.
Step 2: Connect Microphones and Instruments
Plug your Microphones into the mixer using XLR cables. If you’re using instruments like guitars or keyboards, connect them via a DI Box to balance the signal before sending it to your Audio Mixer.
Step 3: Send the Signal to Amplifiers
Use balanced TRS or XLR outputs from the mixer to your Amplifiers. This boosts the line-level signal strong enough to drive your Speakers.
Step 4: Connect the Speakers
Connect your Amplifiers to your Speakers using Speakon or heavy-duty speaker cables. Match impedance levels to avoid distortion or overheating.
Step 5: Add Monitoring and Recording Gear
-
Connect Head Phones to your mixer or Audio Interface for real-time monitoring.
-
Use a Recorder or Digital Pocket Studio to capture your mix or performance.
-
For hybrid setups, route signals through your Audio Interface to your computer for recording or streaming.
Step 6: Power On in the Right Order
Always power on your system in this order:
-
Mixer
-
Amplifier
-
Speakers
And when shutting down, reverse the order to protect your gear.
Tips for Clean and Reliable Connections
-
Label all cables: It saves time and confusion during setup or troubleshooting.
-
Use balanced connections: Whenever possible, use XLR or TRS cables to reduce hum and interference.
-
Avoid cable loops: Cross audio and power cables at 90° angles to prevent noise.
-
Maintain cables properly: Coil cables loosely and store them away from sharp bends.
-
Use quality connectors: Cheap connectors can cause crackling and signal dropouts.
Troubleshooting Common Connection Problems
Even professionals sometimes face connection issues. Here are quick tips:
| Problem | Possible Cause | Solution |
|---|---|---|
| No sound | Loose connection or muted channel | Check cable ends and mixer settings |
| Humming or buzzing | Ground loop or unbalanced cable | Use a DI Box or ground lift |
| Distortion | Gain too high or cable fault | Lower gain, test with another cable |
| One channel missing | Faulty connector or cable | Replace or swap cables |
| Feedback | Mic placement too close to speaker | Adjust mic position or EQ |
The Role of Each Device in the Connection Chain
Each component in your system plays a unique role in how you connect audio equipment:
-
Microphones: Capture the original sound.
-
DI Box: Converts and balances instrument signals.
-
Audio Mixers: Blend and process multiple inputs.
-
Amplifiers: Boost the signal power.
-
Speakers: Deliver the final sound to the audience.
-
Head Phones: Allow private monitoring during setup or recording.
-
Audio Interface: Bridges analog and digital signals for recording or streaming.
-
Recorder / Digital Pocket Studio: Capture your session or live performance.
Conclusion for connect audio equipment
Learning how to connect audio equipment is the foundation of every successful sound setup — whether you’re managing a live event, recording in a studio, or building a PA system for public spaces.
By understanding cable types, connector functions, and correct signal flow, you can ensure that every element — from Microphones and DI Boxes to Amplifiers, Speakers, and Audio Mixers — works together seamlessly.
Combine these with reliable monitoring through Head Phones and digital capture using a Recorder, Digital Pocket Studio, or Audio Interface, and you’ll have a clean, professional-grade audio connection that delivers flawless sound every time.