Instructions to Prevent Early Failures
One of the most important devices in the world of audio is the mixer. Acting as the heart of a sound system, the mixer combines, processes, and distributes audio signals. However, if the mixer settings are not done correctly, not only will the sound quality drop, but your expensive equipment may also sustain serious damage. In this comprehensive article, we’ll cover all the tips and details for setting up a mixer to avoid early failures and achieve the best sound quality.
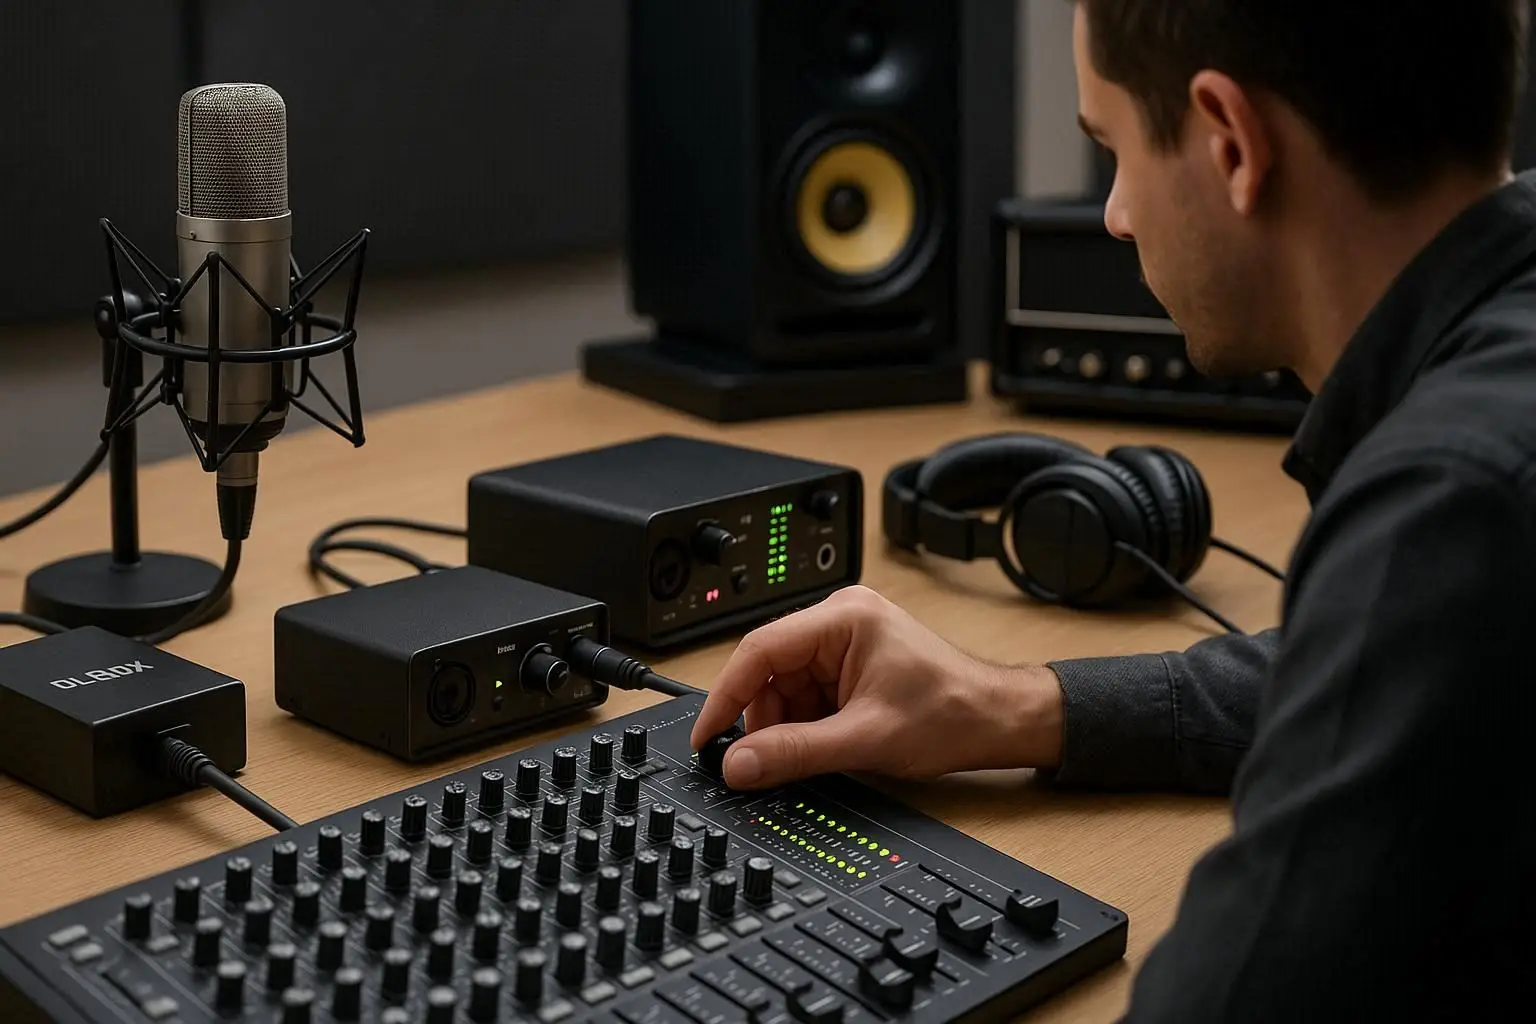
Step 1: Getting to Know the Mixer Panel and Key Components
Before making any adjustments, you need to familiarize yourself with the main components of a mixer. Each input channel strip consists of different sections, each serving a specific purpose:
- Inputs: Where microphones, instruments, and other audio sources are connected.
- Fader: The main volume control for each channel.
- Gain: Adjusts input sensitivity and is the first stage in signal processing.
- Equalizer (EQ): Used to adjust different sound frequencies (low, mid, and high).
- Effects: Allows adding effects like reverb and delay.
- Outputs: Sends the final signal to the amplifier, active speakers, or recording system.
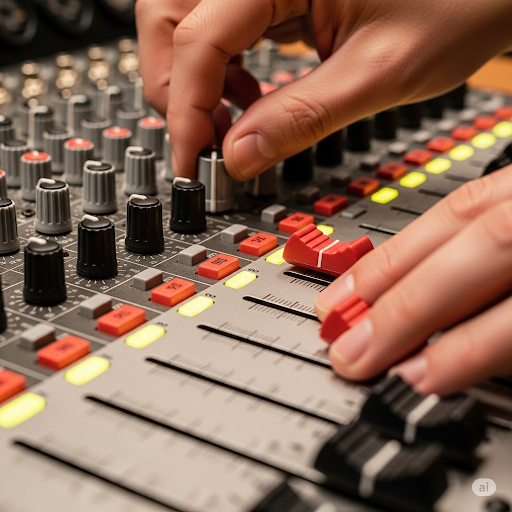
Step 2: Setting the Gain – The Most Important Mixer Adjustment
Gain is the first and most critical adjustment in any mixer channel. If set incorrectly, your sound will either be too weak (low signal) or distorted (signal overload).
Proper gain setup steps:
- Set the channel fader to zero. (Prevents sudden loud sounds.)
- Turn on the audio source (e.g., have the singer speak into the microphone or play the instrument).
- Slowly raise the gain while watching the channel’s Peak/Clip light.
- Increase until the Peak light flashes briefly only at the loudest points.
- Reduce the gain slightly until the Peak light no longer turns on.
Important: Too much gain will cause distortion and potentially damage speaker components, while too little gain forces you to raise the fader excessively, increasing background noise.
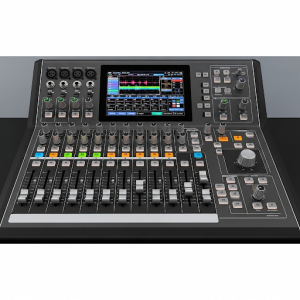
Table 1: Comparing Correct vs. Incorrect Gain Settings
| Setting Type | Advantages | Disadvantages |
| Correct Gain | Clear, distortion-free sound, extended equipment life, maximum signal-to-noise ratio | – |
| High Gain | – | Distortion, damage to speakers and audio system, reduced sound quality |
| Low Gain | – | Weak sound, increased background noise, inefficient mixer use |
Step 3: Using the Equalizer (EQ)
The EQ allows you to boost or cut specific sound frequencies, helping separate sounds better and improving final quality:
- Low/Bass: Deep and full-bodied sounds.
- Mid: The most important range for clarity and presence.
- High/Treble: Brightness and sparkle in the sound.
Tip: Avoid extreme EQ adjustments. Instead of boosting frequencies, start by reducing unwanted ones—this usually gives better results.
Step 4: Setting Effects
Effects add depth and beauty to your sound. The most common are:
- Reverb: Simulates acoustic spaces (e.g., concert hall).
- Delay: Creates repetition or echo.
Use effects sparingly—too much can make the sound muddy. For vocals, a touch of reverb and delay often works best.
Step 5: Managing Outputs and Linking
Once each channel is set, manage the outputs. The Main Mix sends the final sound to amplifiers, speaker stands, or recording systems. Use the Main Fader to control final volume, keeping it at a safe level to avoid discomfort for listeners.
Important: If using multiple mixers or devices, use high-quality cables and know each device’s inputs/outputs to prevent damage. Buy mixers only from reputable stores to ensure quality and authenticity.
Step 6: Maintenance and Longevity Tips
- Regular Cleaning: Dust is a major enemy of electronics. Use compressed air and a dry cloth to keep panels and faders clean.
- Proper Transport: Use dedicated bags or covers to protect against impacts.
- Correct Connections: Ensure all cables are connected properly before turning on the mixer.
Conclusion: A Healthy, High-Quality Audio System Depends on Proper Mixer Settings
Learning proper mixer setup not only helps you produce professional, pleasant sound but also prevents distortion and electrical damage—saving you costly repairs and replacements. By following the tips in this guide, you can effectively avoid early equipment failures and get the best performance from your audio system.
For more on mixing and sound engineering, refer to the Audio Mixing article on Persian Wikipedia.